
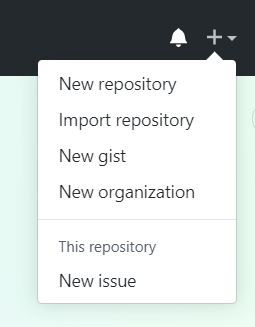
1. First you have to create a new repository on Github. Don’t need to add files already. You can do it after.
⚠️ You cannot create a repo on github using git bash. Git and Github are different things. Github is a platform that let’s you host and collaborate on code while git is the version control tool used.
2. Open Git Bash.
3. Change the current working directory to your local project.
4. Initialize the local directory as a Git repository.
$ git init
For example, in my case my local project is in the test folder, so I used the cd command to open that folder and then the git init command.

This creates a new folder in your test folder.

5. Add the files in your new local repository. This stages them for the first commit.
$ git add .
Adds the files in the local repository and stages them for commit. To unstage a file, use ‘git reset HEAD YOUR-FILE’.
💡 git add . adds / stages all of the files in the current directory.
6. Commit the files that you’ve staged in your local repository.
$ git commit -m “First commit”
Commits the tracked changes and prepares them to be pushed to a remote repository. To remove this commit and modify the file, use ‘git reset –soft HEAD~1’ and commit and add the file again.
7. At the top of your GitHub repository’s Quick Setup page, click to copy the remote repository URL.

8 . Add the URL for the remote repository where your local repository will be pushed.
$ git remote add origin remote repository URL
# Sets the new remote
$ git remote -v
# Verifies the new remote URL
9. Push the changes in your local repository to GitHub.
$ git push origin master
Pushes the changes in your local repository up to the remote repository you specified as the origin

Et voilà! You have now your local project in Github! 😊
